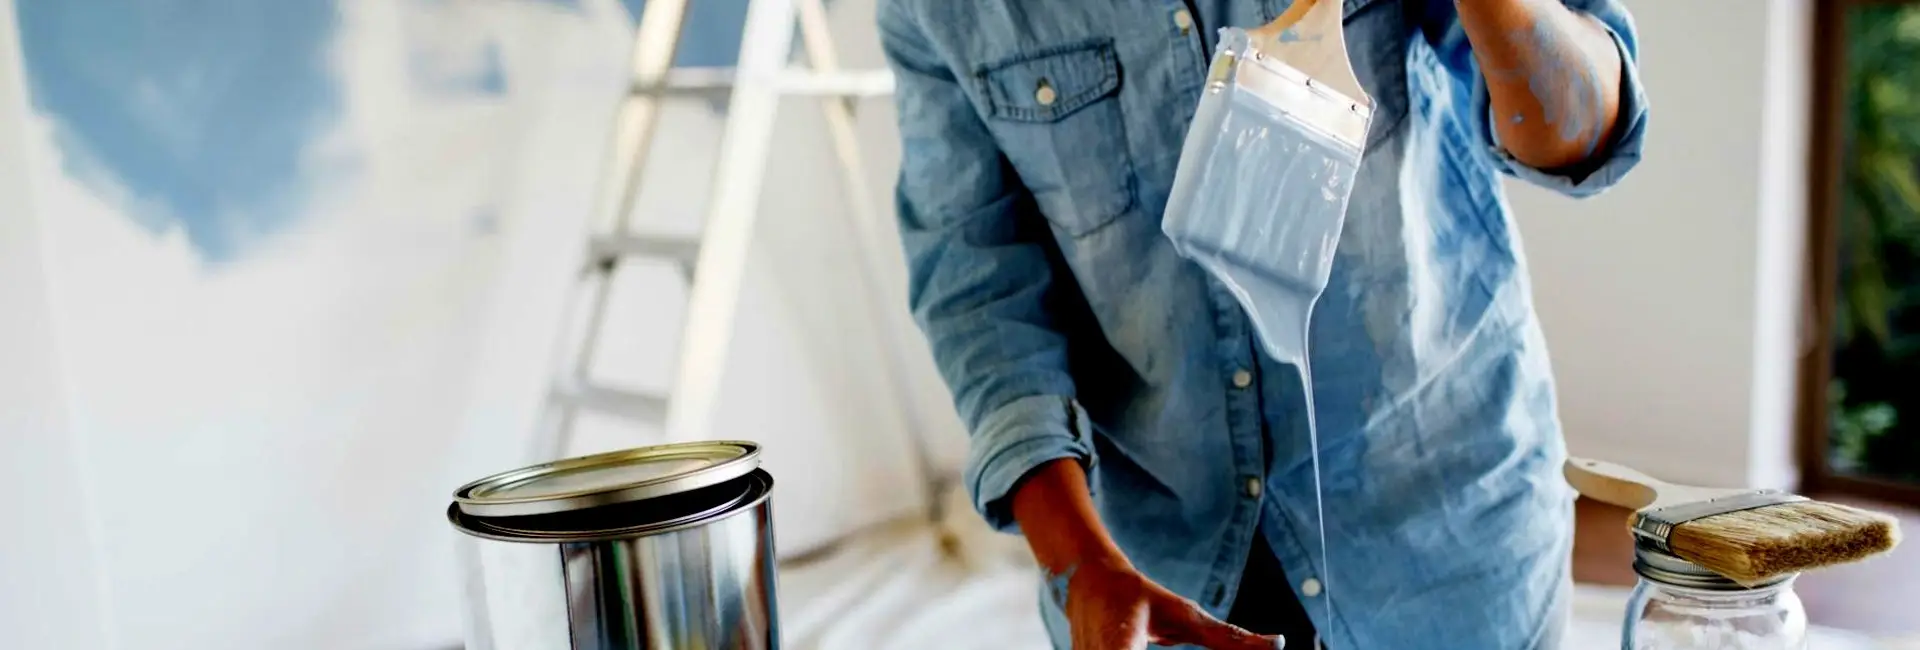
 House painting may be the most common DIY project for a homeowner. It only takes a few inexpensive tools to get started, and almost anyone can do it, right? Once you begin, though, you may find there are several decisions you haven’t considered. If you want your paint job to look like the pros’, don’t overlook any of the following areas.
When it comes to residential painting, preparation is numero uno! Without good prep, the finished job won’t be as good, or last as long as it should.
If you are painting inside your home, you will probably have holes to fill and cracks to caulk. Holes are typically filled with spackling compound and sanded once dry, while cracks between the woodwork and the wall are filled with flexible caulking. You don’t need to sand caulking, but you should let it dry before painting; otherwise, the paint may crack as the caulking dries underneath.
Another essential step is to dust the surface you are going to paint, particularly the corners. You don’t want to pull dust bunnies with your brush. If you are using glossy paint, vacuuming is a must; floating particles in the room always seem to find a way to stick to shiny, wet paint.
When painting outside the house, it is best to begin by washing and scrubbing the surface with a soft-bristle brush. Use a bleach solution to remove mildew or algae, then rinse the house with fresh water and allow it to dry thoroughly. You can wash it with either a hose or a power washer.
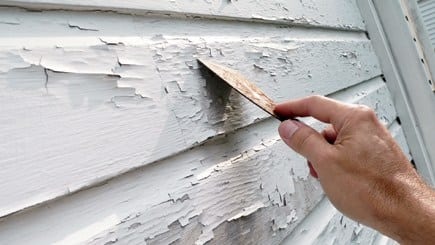
Next, if there’s peeling paint, it’s time to scrape and sand. Any loose paint should be scraped off, and the edges sanded down for a smooth transition. The remaining paint and any bare wood should be scuffed with 120-grit sandpaper to ensure good adhesion.
Also, could you trim back your landscaping to allow closer access to exterior walls and trim?
Most experienced painters recommend that you always prime. But most homeowners try to get out of it because of time constraints or cost. We get it; priming can feel like a wasted effort and interfere with the instant gratification of seeing your favorite color on the wall.
Self-priming paint seems to be the easy solution to this dilemma, but unless your surface is clean and/or you are matching a previous coat color and finish, you’ll end up applying the same number of coats. The difference is that primer is cheaper than paint and, in some cases, works better on its own.
If you have any of the following conditions, you will be better off applying that prime coat:
* You are painting bare wood or new drywall
The bare-faced paper in drywall is highly porous, as is the compound covering the seams. Bare wood is even more permeable and always requires priming unless you are using stain.
* Your previous coat is glossy
Glossy base coats don’t hold paint well. A light sanding and two coats of primer will help the color coat stick. In some cases, you can even skip the sanding step with primer.
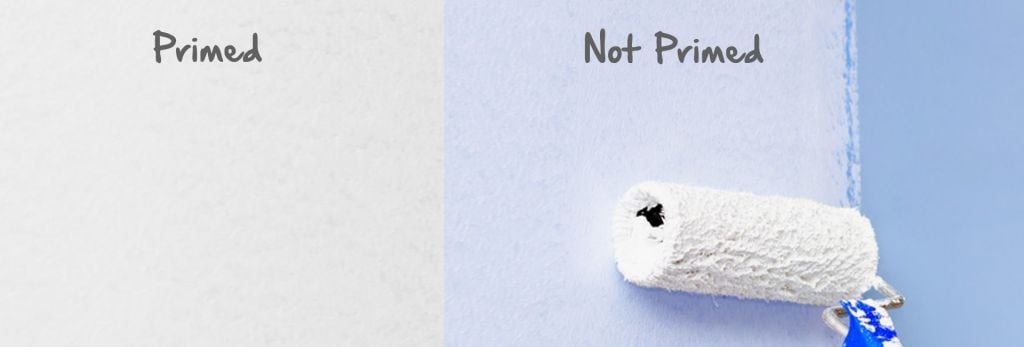
* You are going from a dark color to a light color
Don’t waste money applying layer after layer of expensive light-colored paint over darker colors. Two layers of white primer should give you a nice, clean canvas.
* When in doubt… prime it!
If you have to ask the question in the first place, your surface needs to be primed. You can’t go wrong with priming, and the smooth, even white surface often enhances the pigments in your paint.
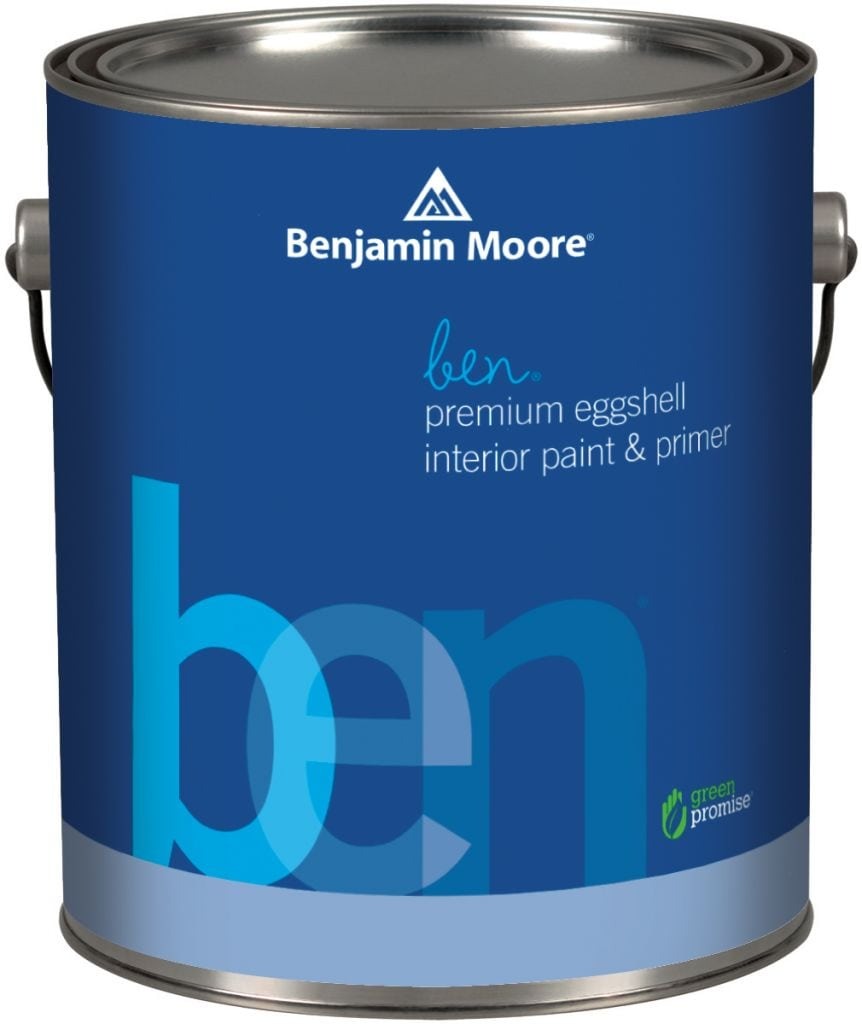
There are several good paint brands out there, but our favorites are Benjamin Moore and Sherwin-Williams.
Between these two brands, you can find every product you need to ensure a great job. And if you are looking for a store recommendation, Vermont Paint Company is the one. They are a 3-generation family-owned business that offers not only excellent service but also expert advice.
Almost all interior paints these days are latex. They are more environmentally friendly and do not require harsh chemicals for cleanup.
 For ceilings, we recommend a latex flat finish to help hide any imperfections. Flat paint is not very washable, but as long as you don’t have kids throwing spaghetti sauce around, your ceiling will probably never get dirty. White is the most popular color, but our designer recommends a 50/50 mix of white and the color you are using on your walls. With this formula, you will achieve an open-space feel with a more upscale look.
Woodwork usually has a latex semi-gloss or satin finish. They are very washable. High gloss was more popular in earlier days, and although some people think it’s too shiny, it’s our favorite if you are trying to make a statement.
For walls, you can choose between flat, eggshell, or satin finish. Flat is not washable, but it does hide a multitude of sins on the surface as well as the application. Satin finish is very washable, but it can be too shiny for residential walls. Our designer recommends eggshell, which is the best of both worlds: Not too glossy but easy to clean.
If you are painting a bathroom, keep in mind that humidity is always a concern. Fortunately, all the popular brands make specific paints for areas like this that not only can withstand daily steamy showers but are also mildew-resistant. In the past, glossier paints were recommended for durability and ease of maintenance, but now Benjamin Moore offers a matte product that provides the same benefits. It’s called Aura Bath & Spa.
If you are painting a complete room, you should start with the ceiling to avoid splattering paint onto newly painted walls. Then, the fastest approach is to move to the woodwork. It is easier to cut the walls into the trim than the other way around. Let the paint dry completely between coats and before moving to the next step.
And never underestimate the power of a drop cloth! No matter how careful you are, paint drops always find their way to the floor or, even worse, carpet and furniture.
Canvas drop cloths are the most expensive, but they can be washed and reused. They also perform the best at absorbing paint drips and staying (mostly) in place.
For small jobs, paper drop cloths are a good, inexpensive option. They are absorbent, and when you are done, you can throw them away. We don’t recommend these for large jobs because they rip easily.
Plastic drop cloths should only be used to protect furniture or lawns and landscaping when painting outside. They are not absorbent so that spills can run, and if you step on spilled paint, you are sure to leave a trail.

If the outside of your home already has painted wood siding or trim, we suggest repainting with a 100% acrylic latex paint. Even if you are painting over old oil paint, good prep will ensure the latex paint adheres well.
If you plan on staining the siding, you should use a transparent or semi-transparent stain. Solid stains are the equivalent of flat paints, and will peel – precisely what you do not want from a stain!
If you are building a new home, have your builder install the siding “rough side out.” The coating adheres better to the rough-sawn side, extending the life of the paint or stain coat.
Don’t like the color of your vinyl or aluminum siding? No problem; both of those materials are very paintable because, as opposed to wood, moisture doesn’t come through them and push the paint off. Just wash the surface and let it dry completely before applying a 100% acrylic latex paint.